
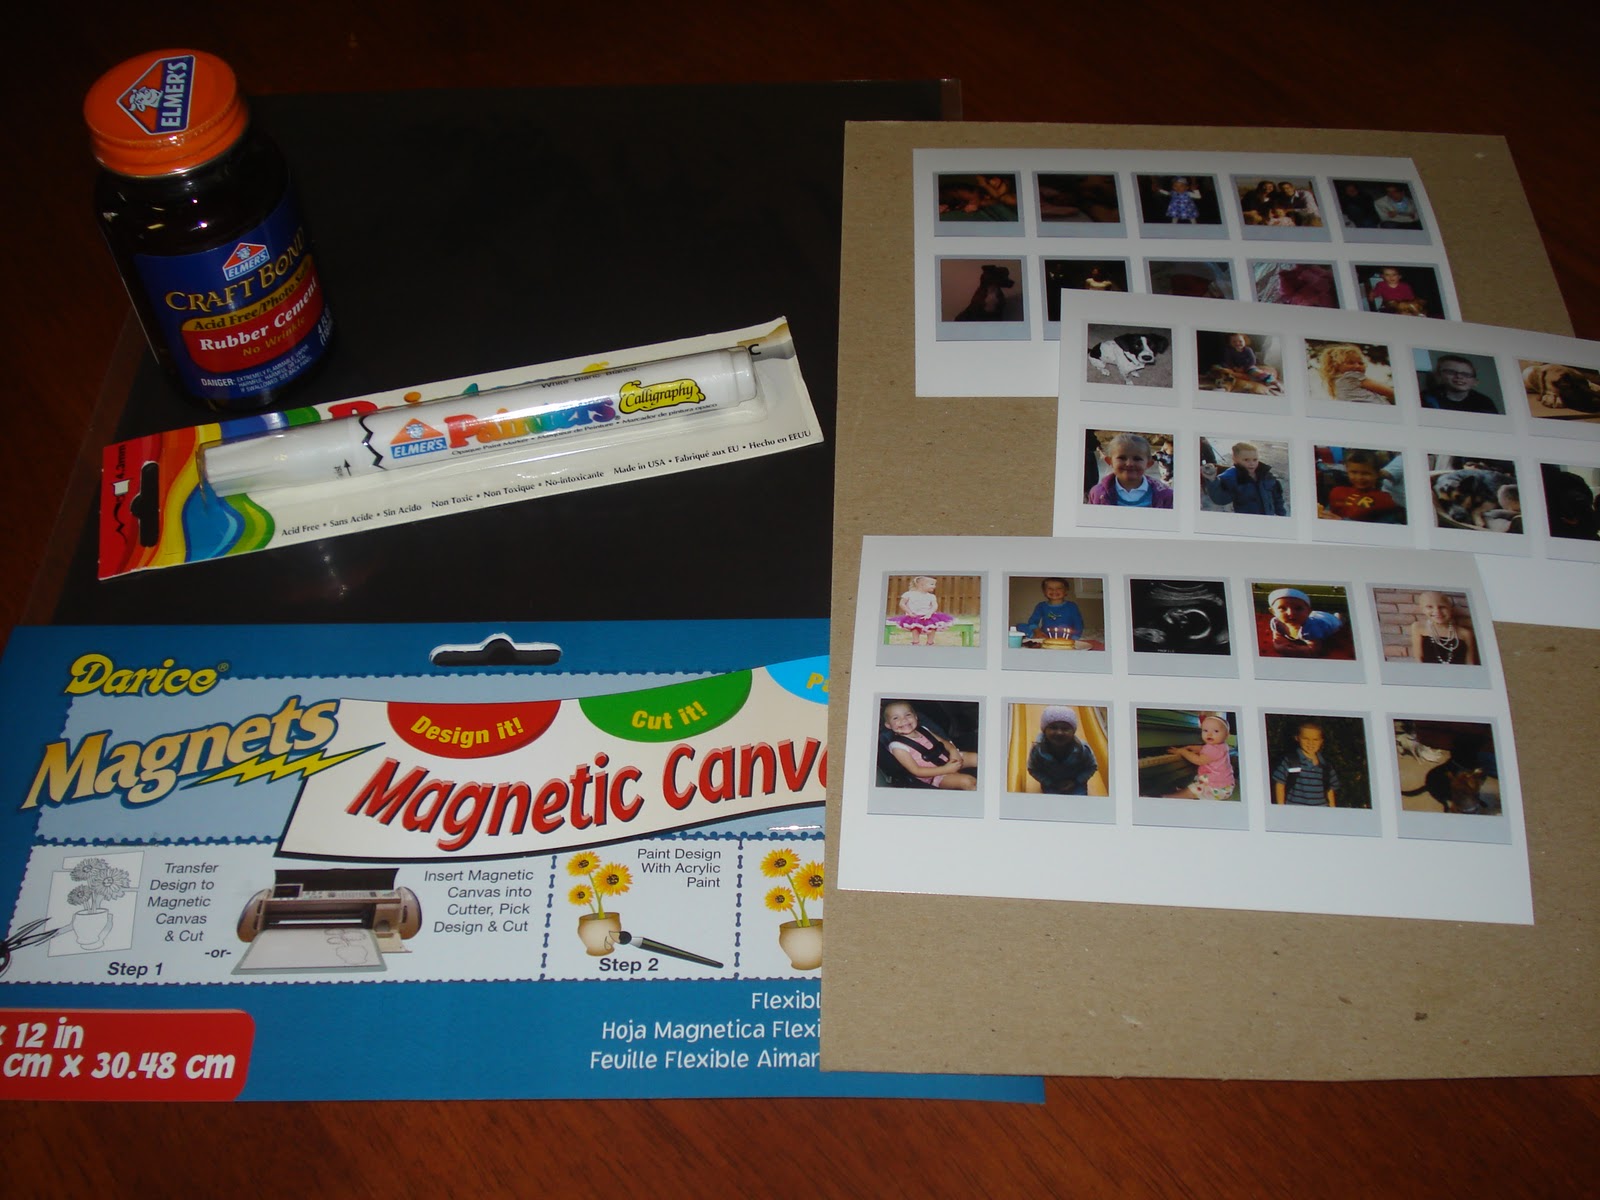

First you need to glue the pictures to the cardboard. Let that dry a little and then you will "laminate" each row of photos with a length of packing tape. At this point I cut each picture out and glued them to the magnet sheet. You don't have to cut them all out first, but I didn't want to waste space on my magnet (do make sure and glue to the non-magnetic side or else your magnets won't stick to the fridge). After gluing the pictures to the magnet I let them sit under a heavy book for awhile to make sure they stayed glued together really well and would be nice and flat. Then cut each polaroid out individually.

Now your project is complete unless you choose to finish up by painting the sides white to give them a polished look. It didn't seem to make much difference to me so I nixed that extra step. Put them on your fridge and enjoy.

Oh and that little girl in the photo up there? That's me three days after my first birthday on Christmas morning.

No comments:
Post a Comment