Friday, October 14, 2011

Wreath Redo: Halloween

It's time for my wreath to get a makeover now that we are coming up on Halloween. I stripped my wreath down, but kept the muslin wrapped around it and added 1/4 yard of black halloween lace for $0.80 and two sheets of 9x12 felt for $0.25 each all from JoAnns. The rubber spider was a budget buster at $3 from Walmart.
I started by cutting three longs strips out of my lace, each one was about 3 inches wide. Then I started wrapping. Silly me I ran out of fabric, but I eventually covered that up with a tie to hang it from so it ended up working out.
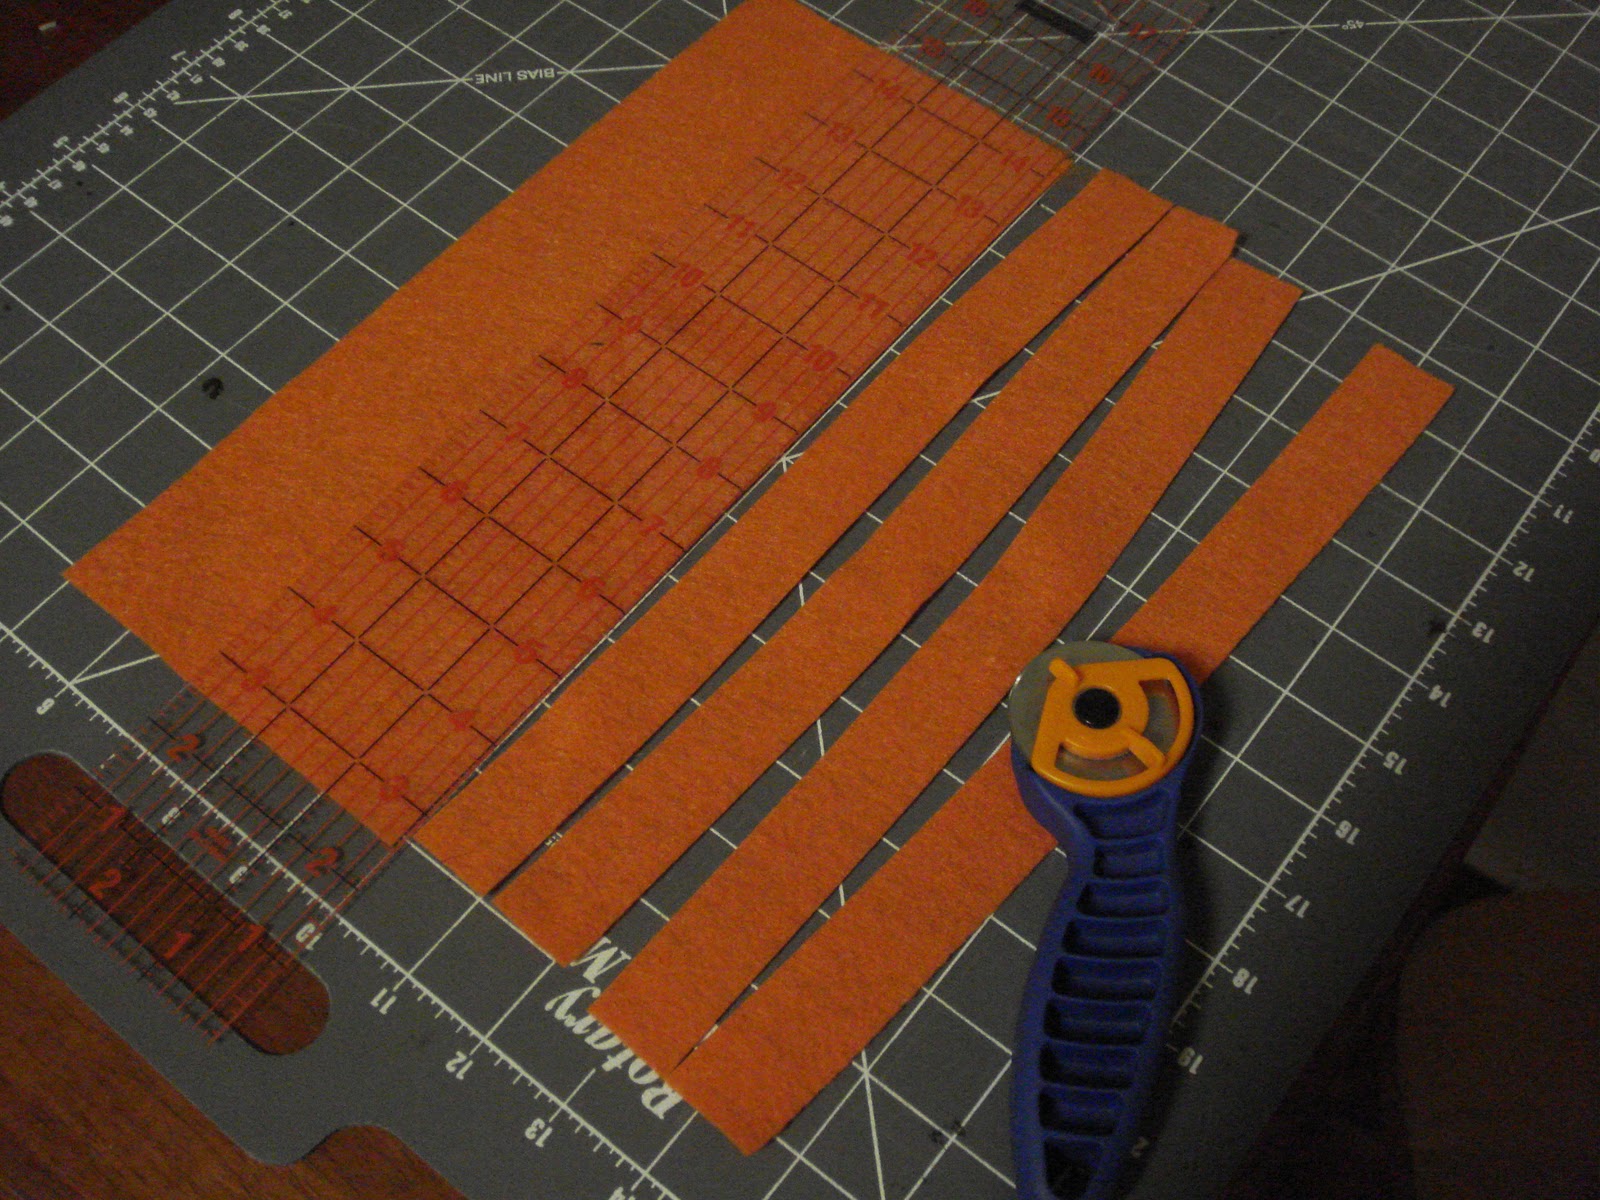
I cut my sheets of felt into one inch strips and used this tutorial to make my flowers. These flowers are a bit more of a pain than the easy peasy fabric rolled flowers, but they created a cool effect that I really wanted for this wreath. The hard part is just having the patience to cut every little strip along the felt one by one.

I can't wait for my little girl's first Halloween.

Wednesday, October 12, 2011

To Match My Ladybug

 This year my little girl is dressing up as a ladybug for Halloween and I've been trying to come up with some simple costumes for hubby and me to accompany her. Finally I came across these tutorials and knew the sunflower "hat-ette" would be perfect for me. 
 I started with a cardboard circle just over 6 inches across. And glued some dark brown felt around it. (The felt was cocoa felt from JoAnns I bought a quarter yard for $0.37 and had plenty left over)
 Then I cut a pattern piece petal out of cardboard that I free-handed. (This 9x12 sheet of goldenrod felt set me back $0.25 also from JoAnns)
 Thirty-six pinched and glued petals later I had the beginnings of my sunflower. I made this flower out of the same dark brown felt and topped it on several circles of brown tulle. (I used all of the 1/8 yard of coffee matte tulle I bought from JoAnns for $0.09)
I glued another circle of brown felt onto the bottom of the sunflower and then glued a small strip onto that to slide my headband through. (The headband was also from JoAnns for $0.99 and is 5/8 inch wide)
I think it turned out so cute and it was easy enough to make. Some parts were fairly tedious, but sitting infront of the television with hubby while working on this helped with the monotony.

Monday, October 10, 2011

Costumes

Last Halloween we had two different occasions to dress up. I was super pregnant at the time so we had a little fun with it. First up we went as m&m's:

I simply cut-out the m shape from sheets of white felt and then we pinned them on to our shirts with safety pins from the inside-out. A cute little costume for about 60 cents for the both of us.

Next up: the Juno couple.


For this one we used clothes we had on hand and bought name tags and sweatbands for hubby.

Here's a list of our other contenders:
Housewife and Milkman
Santa Clause and elf/reindeer
Bun-in-the-oven and Baker
Squasher and Zombie (from plants vs. zombies the game)
Pumpkins
Woman in labor and Super-Dad (Hubby would wear a tool belt with baby supplies)

Friday, October 7, 2011

Chocolate Chip Cookies

This is hubby's favorite chocolate chip recipe:
Mix together:
1 cup sugar
 1 cup brown sugar
 2 cubes of butter

Add:
 2 eggs
 2 tsp. Vanilla
 1 tsp. Baking soda
 1 tsp. Baking powder
 1/2 tsp. Salt
 3 cups of flour
 chocolate chips (however many you prefer)

Roll into golf balls and bake at 375 degrees for about 8 minutes on an ungreased cookie sheet. You'll take them out before they look completely done and they'll finish baking while they cool on the cookie sheet.
This makes about 4 dozen.
 If I am just making these for us I usually bake a dozen and roll the rest of the batch and freeze them on a cookie sheet like you see above. Once they are good and frozen I put them all in a big ziploc bag and store them in the freezer until we want more cookies. I don't know how long they would last, probably a couple of months? We usually finish them off pretty quickly and to be honest, quite a few get eaten raw right from the freezer.

Wednesday, October 5, 2011

Yarn Letter

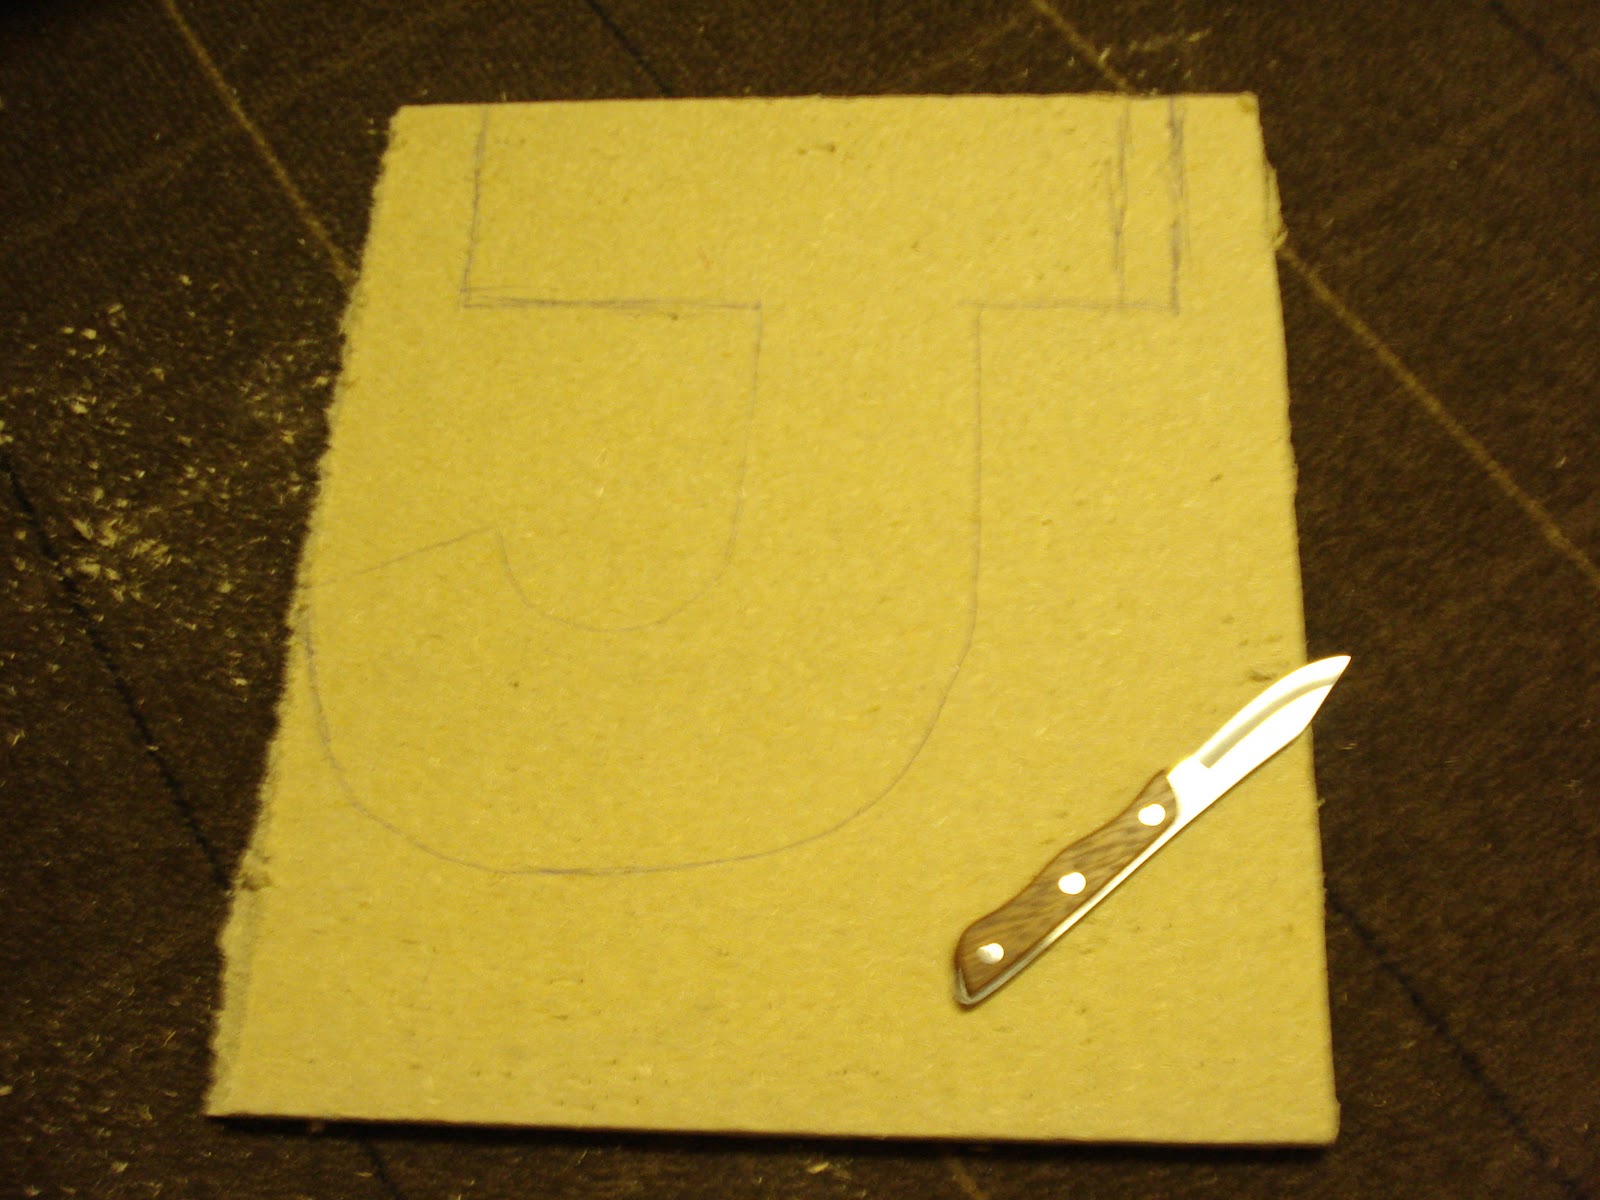
One night after my little girl had gone to bed and hubby was out of town for work I was surfing blog land and found this. I immediately wanted to try it out and found my supplies around the house. First I took apart my picture board to shorten it a bit which I had been needing to do anyway. It was made out of cheap particle board. The end that I chopped off I hand-drew a J for my daughter's initial.
I couldn't find hubby's box cutter (which would have been perfect) so I opted for an old knife.
The board kind of disintegrated and it was really hard to make clean lines so therefore I ended up losing the bar on top of my J but I just went with it. Then I cozied up in front of the television and began wrapping until I ran out of yarn.
On the back I attached a ribbon using straight pins. Which turned out to be a good thing because later I needed to shorten it when I mounted the picture board a little high.
The end. One more thing to warm up the nursery.

Monday, October 3, 2011

My Living Room Wall(s)

Another project using this flat black spray paint I like so much. I have collected quite a few frames from second-hand sources and a couple I bought full-priced. The frames that weren't already black, I painted. I even painted some of the paper boarders that came with some of the frames.
I am falling in love with spray paint. It works up a project so quickly.
I stained my grass, but it disappeared surprisingly quickly. Next time I would use towels or a sheet or something because the grass and leaves got in my way a little and was a bit annoying.
I love this huge wall of pictures. Our ceilings are so tall which created this huge blank wall. I was able to fill it up pretty nicely with all of these frames.
btw, when printing out the pictures, I found that Costco by far was the cheapest especially for my larger, poster-sized prints. And they printed in about an hour at no extra cost.

Friday, September 30, 2011

Baby Beanie and Booties

A dear friend of mine had her first child a few weeks ago and I knew her little girl would need some booties. All little girls do.

I decided to go ahead and purchase a pattern because all of the cutest patterns come at a cost and I knew I would use it over and over anyway. I love them. The first bootie I tried came out huge. But then I used a smaller hook and that seemed to do the trick.

I also made a hat to match which was very simple and will be warm for that sweet little head. I made the hat a little bigger by increasing an extra round because the pattern was meant for a preemie.

And of course the hat needed a cute flower which I made into a removable clip using hot glue and a clippie. It was easier than expected because I usually shy away from crocheted flowers that need to be sewn but it came out perfectly.

The yarn I used was so soft and it was fun to make little baby things again. Baby projects are fast and oh so rewarding (especially because it gives you an excuse to visit a tiny angel).

Wednesday, September 28, 2011

Slow Cooker Chicken n' Dumplings

It's that time of year again. The air conditioners are being moved out of the windows and I am pulling out our sweaters. Of course we still have been having some hot days, but some of the days are just perfect for something warm and yummy. This recipe is comfort-food good and so easy. Taken from allrecipes.com
4 skinless, boneless chicken breast halves
2 tablespoons butter
2 (10.75 ounce) cans condensed cream of chicken soup
1 onion, finely diced
2 (10 ounce) packages refrigerated biscuit dough, torn into pieces

Place the chicken, butter, soup, and onion in a slow cooker, and fill with enough water to cover.

Cover, and cook for 5 to 6 hours on High. About 30 minutes before serving, place the torn biscuit dough in the slow cooker. Cook until the dough is no longer raw in the center. 

**I usually cut the ingredients in half to serve hubby and me, but other than that this is a keeper.