Wednesday, November 16, 2011

What I'm Reading

Espresso for your Spirit
Hope and Humor for Pooped Out Parents
by Pam Vredevelt

I was leery of what a Christian self-help book could do for me. I have always had a bit of a negative connotation towards this type of literature and so I began reading this book already skeptical and believing it might help some people, but most likely do nothing for me. My attitude changed immediately. The first chapter had me in tears. The following chapters were much of the same: I cried, laughed, or was compelled to get on my knees and pray about something I had been neglecting.  A chapter at a time I was uplifted by Vredevelt’s words and hanging on to every sentence.
The book is meant to be read in a few minutes here and there by busy parents who only have about 5 minutes to themselves a day in order to rejuvenate and carry on. So the chapters are short and each one very meaningful. Some of the chapters are personal stories about the author and her family and other chapters are compiled of stories mostly of close friends of the authors. They are stories of trials and moments of inspiration. Each chapter ends with a short list of humorous anecdotes or quotes of hope.
After only reading a few chapters of Espresso for Your Spirit, I was already singing its praises and deciding everyone I know needed a copy. I loved the very personal experiences shared, the acknowledgment of God’s hand in all things, the simple truths learned that all parents need to understand, and the reminder that all parents struggle and that in no way defines how “good” of a parent we are. I cannot think of a negative thing to say about this book and am thankful it crossed my path.

***I received this book for free from WaterBrook Multnomah Publishing Group for this review

Monday, November 14, 2011

dinner roll holder

When I first saw this dinner roll holder I thought it was the cutest thing and wanted an excuse to make one. I ended up making one for a gift and filling it with candy because it seemed empty without yummy rolls in it. I think it would be so much fun to someday host a big dinner and have a couple of these beautiful holders on the table.
 It folds flat for easy storage. So handy.
I can not wait for Thanksgiving. What could be better? Family, food, and beautiful fall.

Saturday, November 12, 2011

Reusable Gift Box

 For my final post this week I wanted to show you a clever way to wrap a gift. Take a shoe box and wrap each part individually.
 You end up with a cute little present which is easy to open when dealing with a very young child and which you can use over and over. No waste. I love it.

Friday, November 11, 2011

Easy Birthday Cake

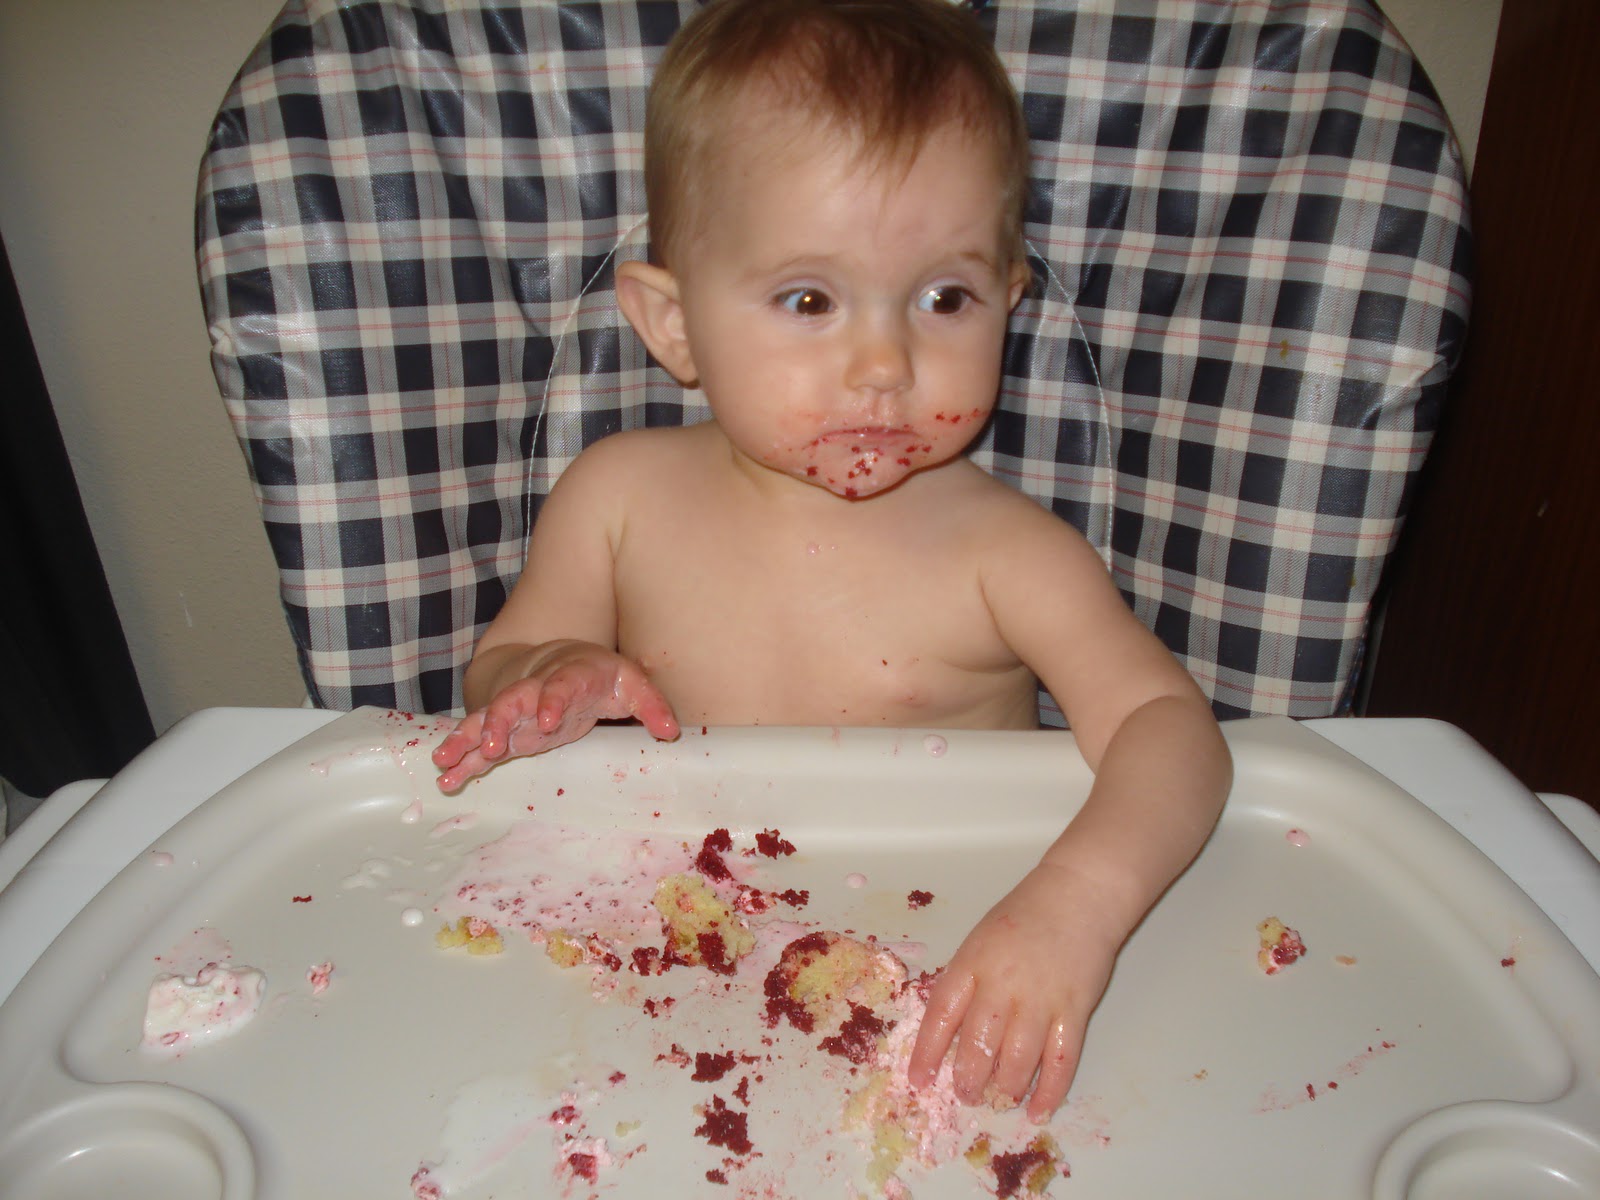
On to the all-important Birthday cake! I wanted to do something simple and pretty so this is what I came up with.
I alternated layers of homemade yellow cake and a boxed red velvet. The yellow cake was awesome for stacking and icing. The boxed cake, not so much. It's funny, before making this cake I never really thought about what buttercream icing was made of. Guess what? It is mostly butter. I almost died when I saw this recipe, but still wanted to try it so I tried to ignore the ingredients and carried on. I simply added a little food coloring and placed white chocolate chips all over to get my 'polkadots'.
yum.

Wednesday, November 9, 2011

Birthday Crown

We had a wonderful little party for my (baby) girl the other day to celebrate her first birthday. It was very simple: food, cake, presents, and family. We all had so much fun and I was glad we were able to pull it together at the last minute.
One thing I knew my little girl needed for her birthday was a crown. Every little girl needs a crown on her birthday don't you think?
All you need to make a crown of your own is two layers of felt, one layer of cute material, thread, velcro, and embellishments. I started by free-hand drawing the shape I wanted the crown to be. You could do this too or I know there are templates around blogland you could also find and use. Cut out a piece of felt giving yourself a 1/4 inch border and adding a long strip on the base of the crown long enough to velcro the crown in place in the back of your child's head. From end to end mine was 20.5 inches long for my one year old.
Using the cut felt as a pattern piece, cut out your cotton material. Then, placing right sides together,  sew these two pieces together with a 1/4 inch seam allowance sewing all the way around except for the entire bottom length of the crown.
Turn right side out and sew the bottom closed. It should now look like a crown. Sew or glue on your embellishment over the bottom seam to hide the raw edge.
Then I cut a 'J' out of felt and sewed it in the middle of the crown for my daughter's first initial. You could also use a number for their age or something cute like a ladybug.
Cut a small piece of velcro and sew it on one of the long ends of the crown on the cotton material side.
Now take your crown and use it as a template to cut one more piece of felt. Cut a larger piece of velcro (make sure it is the opposite piece to the velcro you already sewed on) and sew it onto the felt on the opposite side of the crown from your first piece of velcro. You will then glue the felt to the back of the crown covering up all of your sewing and giving sturdiness to the entire project.
Now hopefully your daughter won't spend the entire night trying to pull her crown off her cute little head and you'll be able to get some memorable photos.

Monday, November 7, 2011

Wreath Redo: Birthday

I have changed up my door ornament once again. This time it is in honor of my little one turning one. I think I have been in denial about her growing up because I waited until the last minute to even plan anything for her party. Luckily I already had her present tucked away months ago and it wasn't something I was planning on making. I bought her a little wooden train handmade in Kentucky that I just couldn't pass up at a farmer's market I visited.

First things first I needed to work on the wreath to replace my Halloween decor. I started by wrapping my wreath with some white lace and then a pastel pink fabric.
The white flower was rolled using hot glue and a one inch strip of fabric. The purple flowers were 2 and 1.25 inch circles hot glued together.


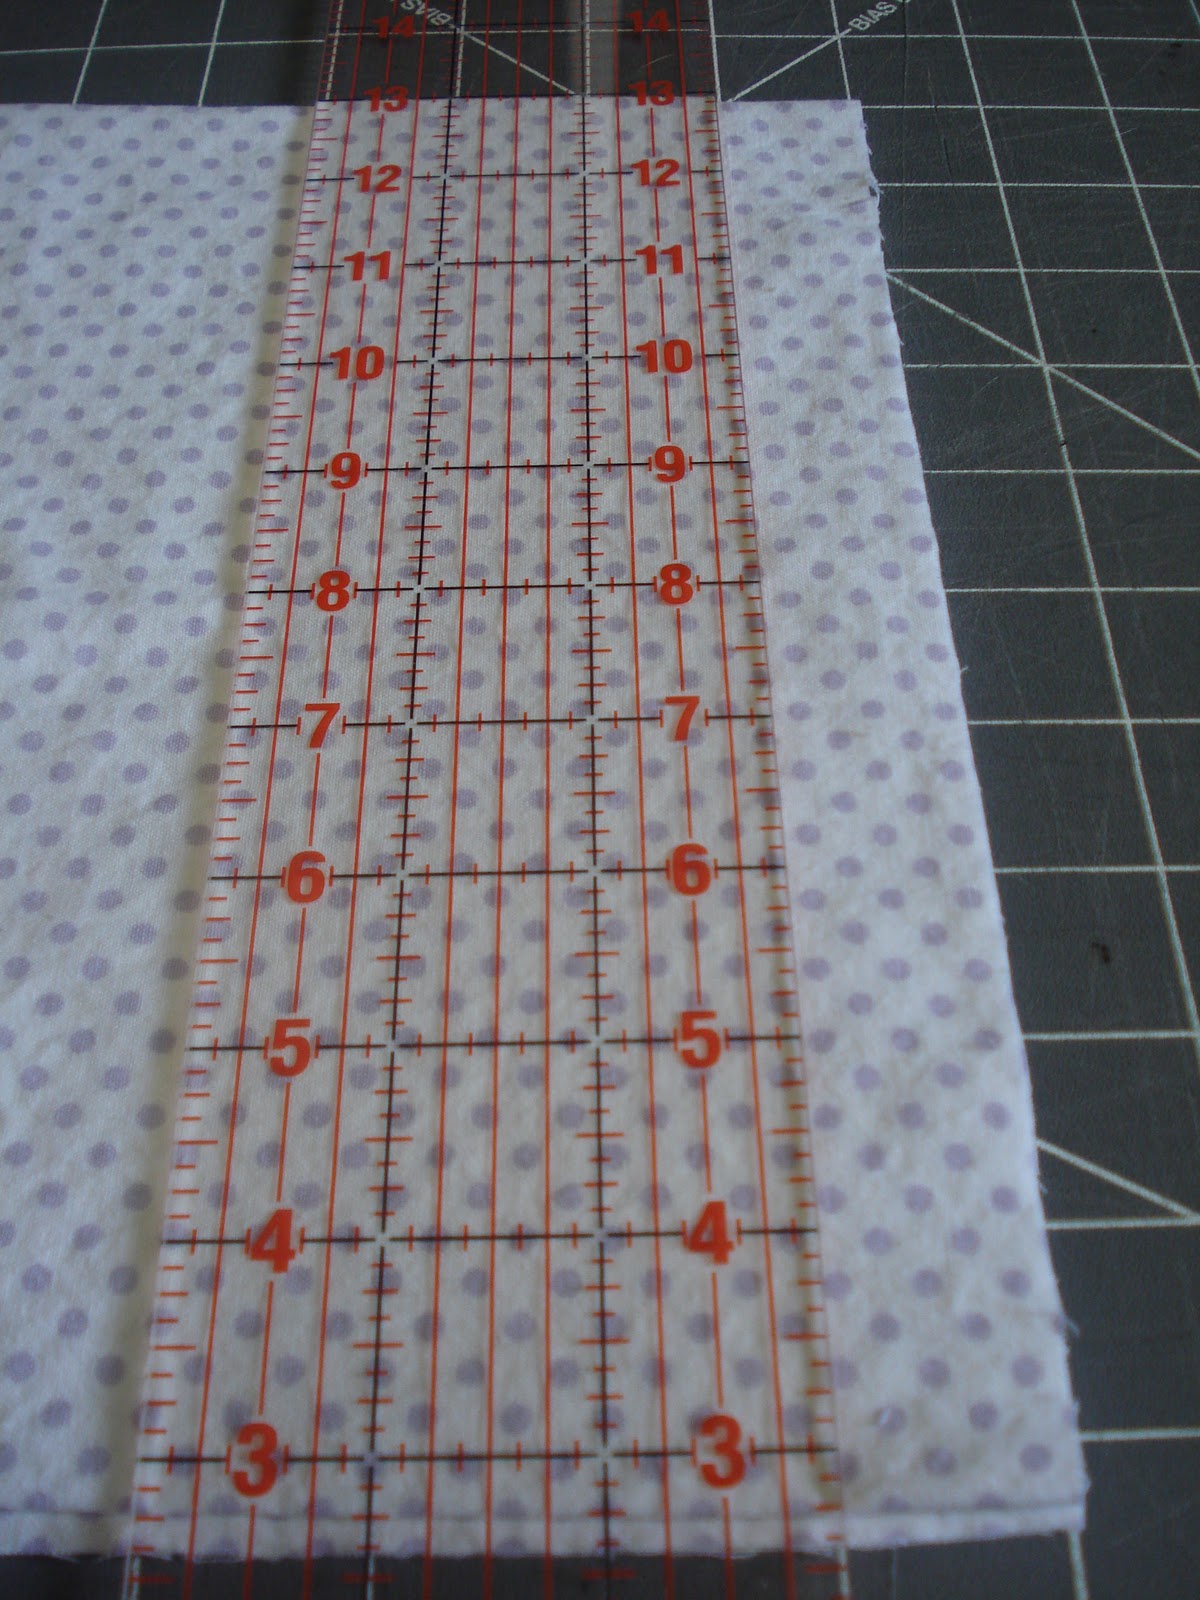
The banner was made by cutting a two inch wide strip of the white fabric and cutting out triangles using my rotary blade and straight ruler every two inches. I wrote 'Happy Birthday' using a purple permanent marker which bled a lot more than expected, but I kind of liked the result so I kept it. I crocheted a long chain of yarn and then went back up the chain with hdc to make the 'rope' for my banner.
I pinned the rope to my wreath and pinned my letters into place to get the spacing just right. One by one I then removed the pin and hot glued each letter to the yarn rope.
The final flower I crocheted out of the same purple yarn used for the rope.
Around here we celebrate birthday weeks (and sometimes birthday months). Let the celebrating begin :)

Friday, November 4, 2011

Mexican Casserole

I tried a new recipe I found on Cooking On Clover Lane. It was good and simple to make. I had forgotten how nice making casseroles can be. I hardly use my oven during the summer and find myself cooking over the stove up until the minute we eat. When making a casserole there is time to clean up, set the table, and even sit down and relax for a minute. It was an unexpected treat to cook using my oven. And the best part about using an oven is how easy it is to make freezer meals :)


1 pound lean ground beef
2 cups salsa
1 16oz can chili beans, drained
3 cups tortilla chips, crushed
2 cups sour cream
1/2 cup chopped green onion
1/2 cup chopped fresh tomato
1/4 cup chopped fresh cilantro
2 cups shredded Cheddar cheese

Preheat oven to 350.
In a large skillet, brown beef. Stir in salsa, reduce heat, simmer until liquid is absorbed (about 10 minutes depending on how thick your salsa is.) Stir in beans, and heat through.
Spray a 9 x 13 baking pan with cooking spray. Spread crushed chips in a layer on bottom and then add ground beef mixture. Spread sour cream on top. Top with onion, tomato, cilantro and cheese.
Bake for 30 minutes or until bubbly.

Wednesday, November 2, 2011

a Curtain for the Bathroom

In our apartment we have a functional bathroom. That is about all it is. It needed a little life breathed into it. I thought I would start with a little color for the window.
My little window measured in at 22 inches square so I started off with a 25 by 44 inch piece of material. I first hemmed the two short sides and then the long bottom side. Then to create the top sleeve for the rod to go through, I ironed down the top about a quarter of an inch and then ironed it down again about an inch and a half then sewed along the bottom edge of the hem.
I love this floral pattern. In fact, I bought extra yardage for another upcoming project. It just makes me happy to look at.